Push to AWS with Bitbucket Pipelines and serverless
Recently at From Now On we created an API that’s backed by AWS Lambda and automatically deployed and managed using serverless. In this post I’m going to share our setup with you.
This example will guide you through a Bitbucket Pipelines setup, but if you get stuck or need help setting up a similar flow with a different deployment stack, feel free to message me and I’ll see if I can help!
I’ve created a demo repository that contains a working example, and I’ll explain the important parts here.
Previous posts in this series:
serverless.com #
The serverless tool is a command line utility to make it easy to deploy resources to cloud services. I’m favorable to AWS, and in particular you can use AWS resources to launch a performant and scalable API very quickly.
At the root of your repository you’ll want a file named serverless.yml which contains the cloud service configuration. For this example I’m only demonstrating the core principle, so there’s only a singe endpoint GET / which returns a simple HTML page.
The serverless configuration looks like this:
service: demo-api

provider:
  name: aws
  runtime: nodejs8.10
  stage: ${opt:stage}
  region: us-east-1
  timeout: 10
  memorySize: 128

  functions:
  my-basic-lambda:
    handler: index.api
    events:
      - http:
          method: get
          path: /
Let’s break that down a bit.
service: demo-api #
This is the name that will show up in your AWS console, it’s the name of the Cloudformation template stack that gets deployed. It must be unique across your whole account.
provider #
You can actually use serverless to deploy to Azure or others, but for now we’ll stick with AWS. There’s more information in the docs, but basically this property defines the runtime that your code will be executed in.
functions #
Each property will become a named Lambda. The handler property references to a JavaScript file that must exist next to the serverless.yml file, and exports a named function.
For example, handler: index.api translates to a JavaScript file like this:
module.exports.api = async (event, context) => {
    // handle the request
}
AWS configuration #
Within AWS you will need to setup a user. Those user credentials will be stored as secure environment variables in Bitbucket Pipelines. There are some serverless official instructions, or follow these simple steps:
- Go to the AWS “IAM Management Console” page.
- Go to “Users”, then “Add user”, then enter the name that you’ll use for this project. In the demo I named it
blog-aws-pipelines-and-serverless. - Check the “programmatic access” checkbox and go to “Next”.
- Click on “Attach existing policies directly”, to attach manual policies.
- Find and select
AdministratorAccess, then hit “Next” and “Create user”
On the final page it should say “Success” and show an “Access key ID” and “Secret access key”. Save these properties.
Bitbucket configuration #
We’ll be setting up three environment variables as secure environment variables:
AWS_ACCESS_KEY_ID(secured): The key identifier, which is the “Access key ID” from the AWS setup step.AWS_SECRET_ACCESS_KEY(secured): The key itself, which is the “Secret access key” from the AWS setup step.AWS_DEFAULT_REGION: The region. In our case this is justus-east-1.
If you’ve enabled Pipelines and everything is configured correctly, you should be able to push a change to the master or develop branch, and the merge will trigger a deployment!
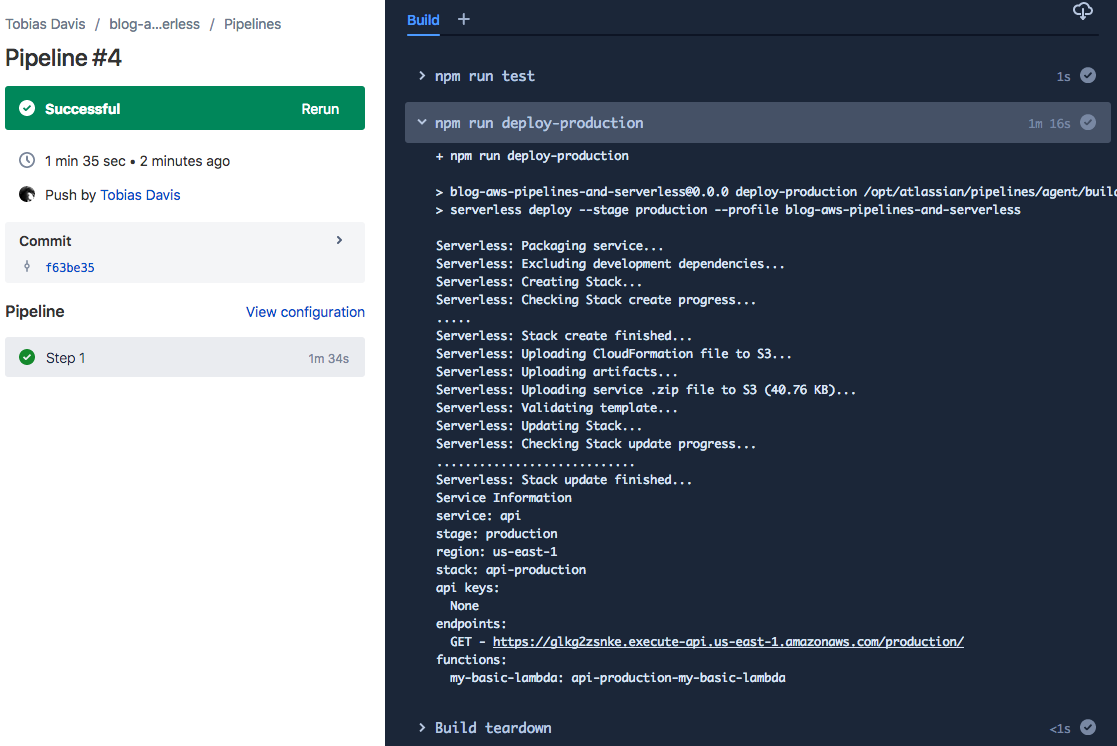
You should be able to access the demo here (I might spin it down at some point in the future):
https://glkg2zsnke.execute-api.us-east-1.amazonaws.com/production/
You’ll notice that the domain name is not human-friendly, but you can configure a domain you already own or use an AWS domain service to get a pretty domain. That’s a different blog post though!